Some years ago I switched my blog from Wordpress to Nikola. I wrote a blog post about the move, but within a year or so, I’d pretty much stopped blogging completely.
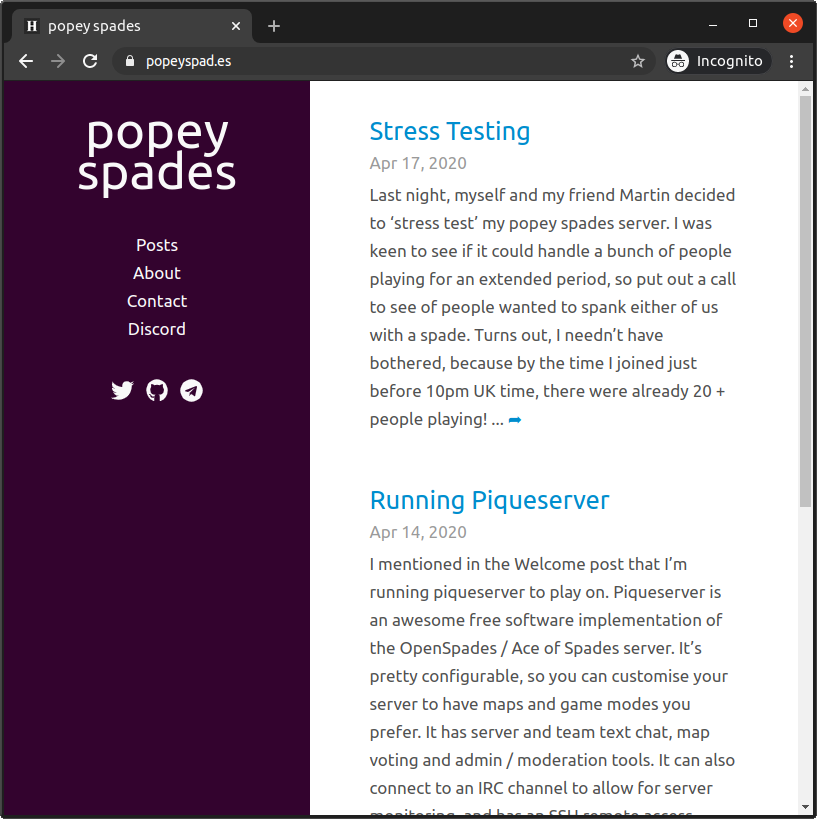
More recently I discovered Hugo, and used it for a couple of other sites I own. popeyspades is a simple blog to promote a game server I was running at the time.
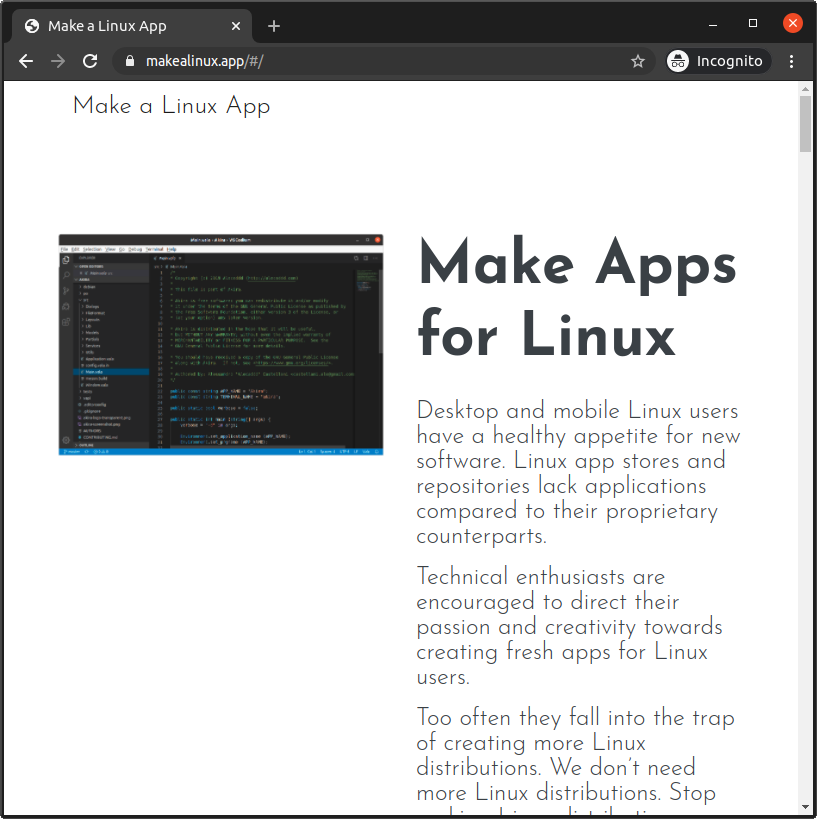
Make A Linux App is a single-serving site that seeks to promote app development for Linux and discourage the proliferation of Linux distributions.
Hugo is pretty versatile. I really like it.
When I set up Make A Linux App, I put the site’s source on GitHub and created some simple infrastructure to automate update publishing. I found Hugo’s blogging part pleasant and the automation very easy to implement, so I decided to reboot my popey.com/blog.
Here’s the basics of what I did to gets started, in case anyone else fancies running a blog on Hugo. This is mostly a loose set of notes I made while setting up. Refer to the Hugo documentation for more professional docs ;)
tl;dr
In short, I create a blog post in markdown on my local PC, test that it works locally, proof-read, and if I’m happy I push it to GitHub and forget about it. A cron job on my VPS (provided by Bitfolk) runs periodically to grab the code from GitHub, build the site and publish it.
Initial setup
On my laptop, desktop or wherever I want to blog:
Install Hugo
$ snap install hugo
Create a site
$ mkdir ~/hugo/
$ cd ~/hugo
$ hugo new site popey.com-blog
Add a theme
I went for GhostWriter, but there’s tons of options if you browse the Hugo themes site.
Grab the release tarball, and unpack it in ~/hugo/popey.com-blog/themes such that there’s now a folder ~/hugo/popey.com-blog/themes/ghostwriter containing theme.toml among other assets.
Configure Hugo
Edit ~/hugo/popey.com-blog/config.toml and tweak as per the Hugo documentation. Here’s some ideas for what mine looked like at this point:
baseurl = "https://popey.com/blog/"
title = "popey.com/blog"
languageCode = "en-gb"
theme = "ghostwriter"

[Params]
    mainSections = ["post"]
    intro = true
    headline = "Alan Pope's blog"
    description = "A bit of personal space for writing"
    github = "https://github.com/popey/popey.com-blog"
    twitter = "https://twitter.com/popey"
    email = "[email protected]"
    opengraph = true
    shareTwitter = true
    dateFormat = "Mon, Jan 2, 2006"

[Permalinks]
    post = "/:year/:month/:filename/"
Testing
Hugo can serve the pages up locally, before any embarassing errors are published for the world to see. Simply run hugo serve in the directory:
$ cd ~/hugo/popey.com-blog/
$ hugo serve
You’ll get output like this, and can then visit the posted local URL (e.g. http://localhost:1313/blog/) in a browser to test.
$ hugo serve --buildFuture
Start building sites …

                   | EN
-------------------+------
  Pages            | 101
  Paginator pages  |   5
  Non-page files   |   0
  Static files     |  70
  Processed images |   0
  Aliases          |  40
  Sitemaps         |   1
  Cleaned          |   0

Built in 91 ms
Watching for changes in /home/alan/hugo/popey.com-blog/{archetypes,content,static,themes}
Watching for config changes in /home/alan/hugo/popey.com-blog/config.toml
Environment: "development"
Serving pages from memory
Running in Fast Render Mode. For full rebuilds on change: hugo server --disableFastRender
Web Server is available at http://localhost:1313/blog/ (bind address 127.0.0.1)
Press Ctrl+C to stop
If you plan to post-date articles, add the --buildFuture flag to the hugo serve to ensure you see posts which haven’t got to their publish date/time yet.
Create posts
To create a post, use the hugo new command with the path to the blog post filename. I have arranged mine by year and month, and use markdown as my language of choice.
$ hugo new post/2020/12/blogging-with-hugo.md
The file ./content/post/2020/12/blogging-with-hugo.md will be created with boilerplate metadata:
---
title: "Blogging With Hugo"
date: 2020-12-21T21:18:38Z
draft: true
---
Start editing with your text editor.

Once you start maintaining content, the post should show up in your browser. The hugo serve command will dynamically rebuild the page each time the markdown file is saved, making it super easy to iterate on the content quickly.
Adding images
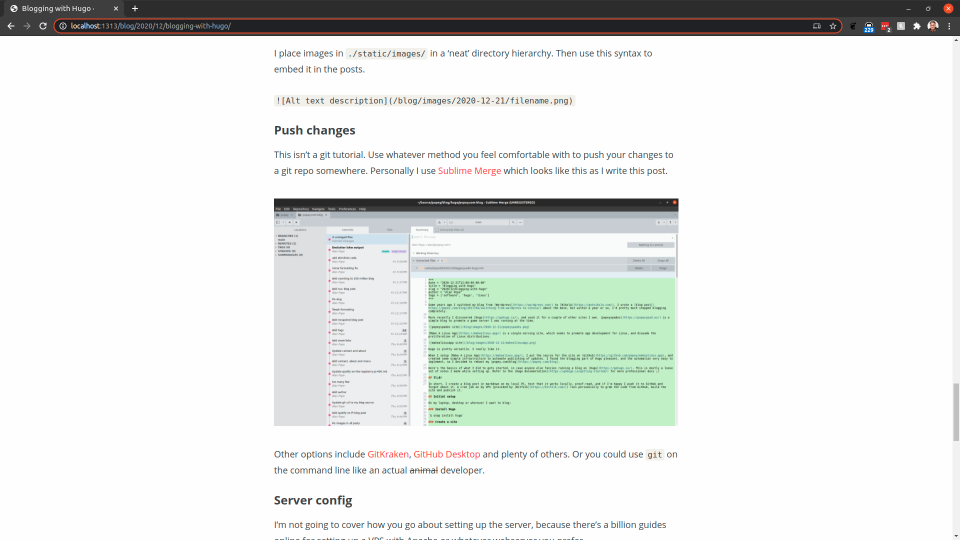
I place images in ./static/images/ in a ’neat’ directory hierarchy and then use this syntax to embed them in the posts.

Push changes
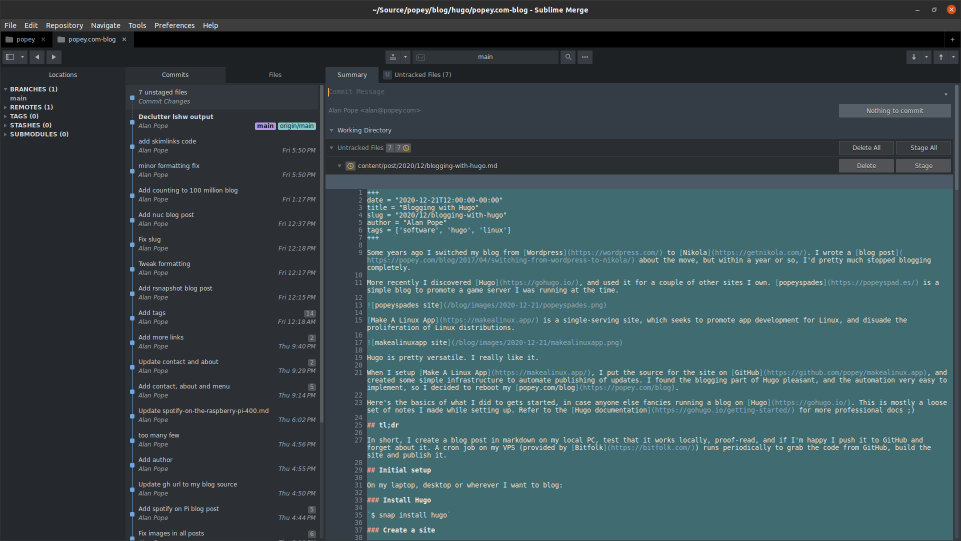
This isn’t a git tutorial. Use whatever method you feel comfortable with to push your changes to a git repo somewhere. Personally I use Sublime Merge which looks like this as I write this post.
Other options include GitKraken, GitHub Desktop and plenty of others. Or you could use git on the command line like an actual animal developer.
Server config
I’m not going to cover how you set up the server because there are a billion guides online for setting up a VPS with Apache or whatever webserver you prefer.
Webserver
My web server is configured to serve from /srv/<domain>/www so, /srv/popey.com/www/. The blog lives under /srv/popey.com/www/blog.
Cron job
I threw together this shell script, which updates a local directory from GitHub via a simple git pull. It then uses the hugo command to build the public pages in public/, which, if successful, is copied to the webserver directory.
#!/bin/bash

cd "/home/alan/blog/popey.com-blog"
rm -rf "/home/alan/blog/popey.com-blog/public/*"
/usr/bin/git pull
/snap/bin/hugo
if [[ "$?" == "0" ]]; then
/usr/bin/rsync -avz --delete public/* /srv/popey.com/www/blog/
fi
I have configured this cron job to run at 45 mins past each hour.
45 * * * * cd /home/alan/blog && ./updateblog.sh
I can optionally ssh into the server and manually run that script if I want to update some content that has been pushed to the git repo immediately.
Updating content
Typically, I’ll clone the repo and go through the above process again to edit content. Alternatively, for ninja “in production” edits, I might use the web-based editor built into GitHub.
That’s essentially it. I can schedule posts to appear on the site only at a particular date/time by setting a future time in the date field in each post meta-data. Of course, they’re public in the git repo as soon as I push, but they’ll only get publicly shown on the blog when the next cron job runs after the time specified. That’s good enough for me!
Conclusion
I find Hugo to be a super friendly, well-documented, and easy-to-modify way to create and publish content on my own site. No PHP or MySQL is needed ;)