This is mostly an informational PSA for anyone struggling to get Windows 3.11 working in modern versions of QEMU. Yeah, I know, not exactly a massively viral target audience.
Anyway, short answer, use QEMU 5.2.0 from December 2020 to run Windows 3.11 from November 1993.
An innocent beginning
I made a harmless jokey reply to a toot from Thom at OSNews, lamenting the lack of native Mastodon client for Windows 3.11.
When I saw Thom’s toot, I couldn’t resist, and booted a Windows 3.11 VM that I’d installed six weeks ago, manually from floppy disk images of MSDOS and Windows.
I already had Lotus Organiser installed to post a little bit of nostalgia-farming on threads - it’s what they do over there.
Post by @popeyView on Threads
I thought it might be fun to post a jokey diary entry. I hurriedly made my silly post five minutes after Thom’s toot, expecting not to think about this again.
Incorrect, brain
I shut the VM down, then went to get coffee, chuckling to my smart, smug self about my successful nerdy rapid-response. While the kettle boiled, I started pondering - “Wait, if I really did want to make a Mastodon client for Windows 3.11, how would I do it?”
I pondered and dismissed numerous shortcuts, including, but not limited to:
- Fake it with screenshots doctored in MS Paint
- Run an existing DOS Mastodon Client in a Window
- Use the Windows Telnet client to connect insecurely to my laptop running the Linux command-line Mastodon client, Toot
- Set up a proxy through which I could get to a Mastodon web page
I pondered a different way, in which I’d build a very simple proof of concept native Windows client, and leverage the Mastodon API. I’m not proficient in (m)any programming languages, but felt something like Turbo Pascal was time-appropriate and roughly within my capabilities.
Diversion
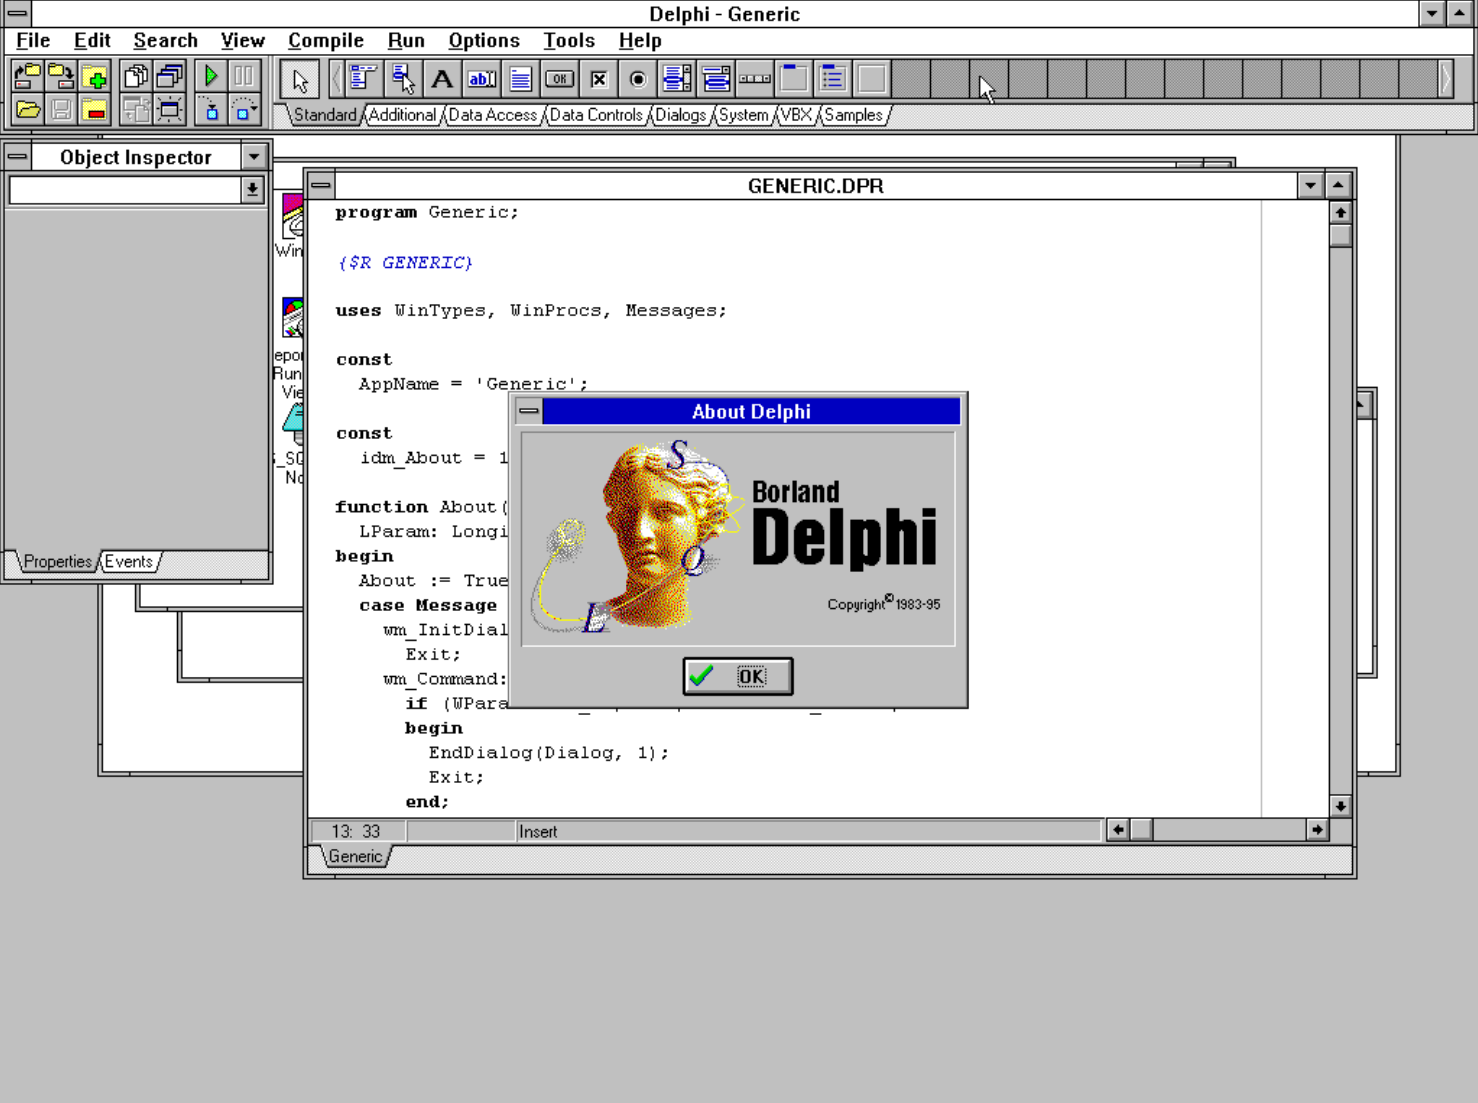
My mind settled on Borland Delphi, which I’d never used, but looked similar enough for a silly project to Borland Turbo Pascal 7.0 for DOS, which I had. So I set about installing Borland Delphi 1.0 from fifteen (virtual) floppy disks, onto my Windows 3.11 “Workstation” VM.
Thank you, whoever added the change floppy0 option to the QEMU Monitor. That saved a lot of time, and was reduced down to a loop of this fourteen times:
"Please insert disk 2"
CTRL+ALT+2
(qemu) change floppy 0 Disk02.img
CTRL+ALT+1
[ENTER]
During my research for this blog, I found a delightful, nearly decade-old video of David Intersimone (“David I”) running Borland Delphi 1 on Windows 3.11. David makes it all look so easy. Watch this to get a moving-pictures-with-sound idea of what I was looking at in my VM.
Once Delphi was installed, I started pondering the network design. But that thought wasn’t resident in my head for long, because it was immediately replaced with the reason why I didn’t use that Windows 3.11 VM much beyond the original base install.
The networking stack doesn’t work. Or at least, it didn’t.
That could be a problem.
Retro spelunking
I originally installed the VM by following this guide, which is notable as having additional flourishes like mouse, sound, and SVGA support, as well as TCP/IP networking. Unfortunately I couldn’t initially get the network stack working as Windows 3.11 would hang on a black screen after the familiar OS splash image.
Looking back to my silly joke, those 16-bit Windows-based Mastodon dreams quickly turned to dust when I realised I wouldn’t get far without an IP address in the VM.
Hopes raised
After some digging in the depths of retro forums, I stumbled on a four year-old repo maintained by Jaap Joris Vens.
Here’s a fully configured Windows 3.11 machine with a working internet connection and a load of software, games, and of course Microsoft BOB 🤓
Jaap Joris published this ready-to-go Windows 3.11 hard disk image for QEMU, chock full of games, utilities, and drivers. I thought that perhaps their image was configured differently, and thus worked.
However, after downloading it, I got the same “black screen after splash” as with my image. Other retro enthusiasts had the same issue, and reported the details on this issue, about a year ago.
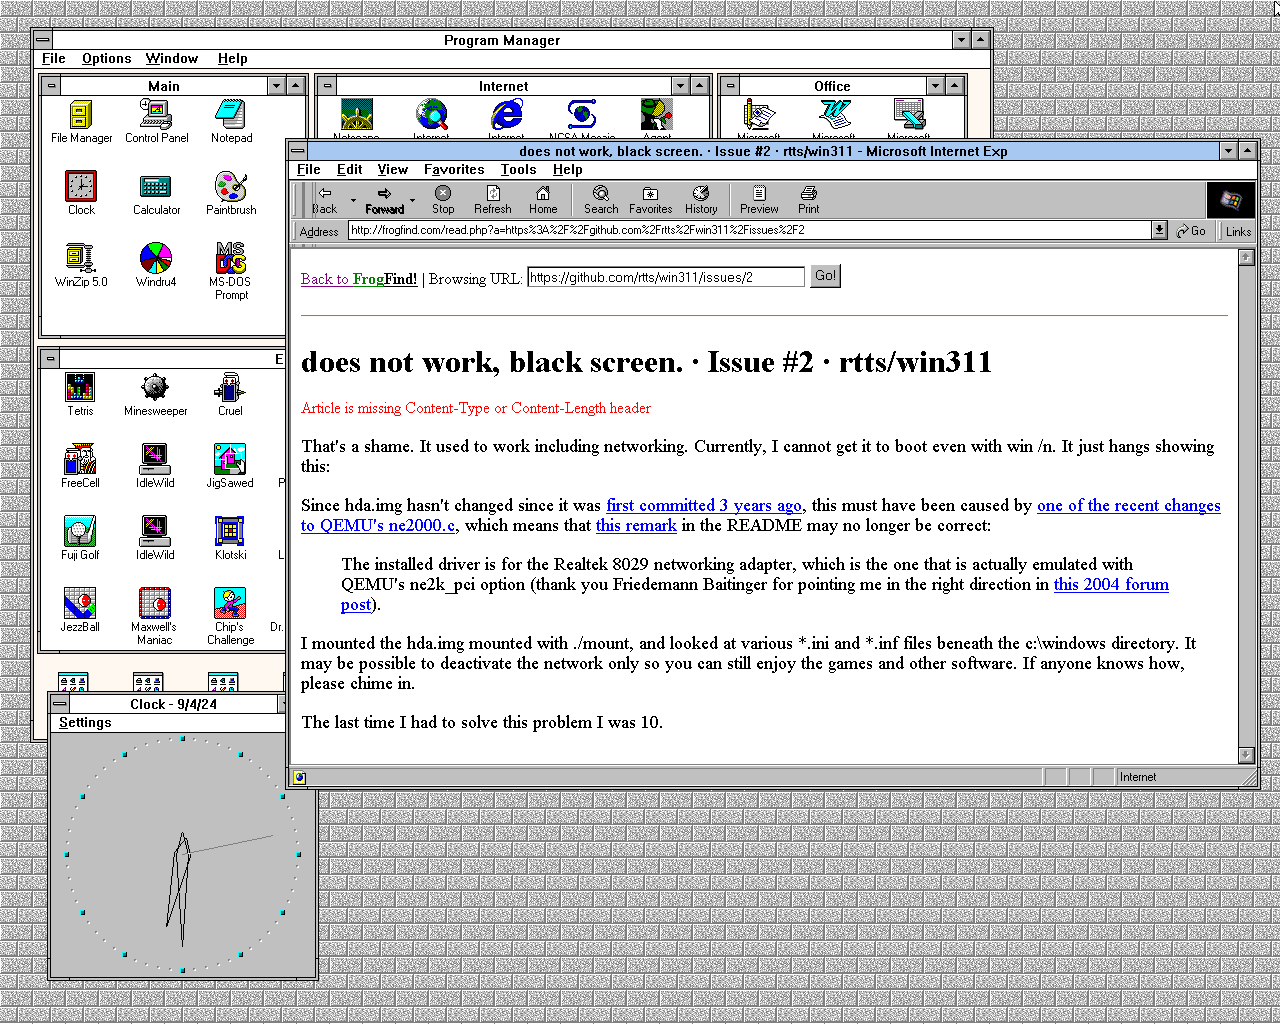
does not work, black screen.
It works for me and many others. Have you followed the instructions? At which point do you see the black screen?
The key to finding the solution was a comment from Jaap Joris pointing out that the disk image “hasn’t changed since it was first committed 3 years ago”, implying it must have worked back then, but doesn’t now.
Joy of Open Source
I figured that if the original uploader had at least some success when the image was created and uploaded, it is indeed likely QEMU or some other component it uses may have (been) broken in the meantime.
So I went rummaging in the source archives, looking for the most recent release of QEMU, immediately prior to the upload. QEMU 5.2.0 looked like a good candidate, dated 8th December 2020, a solid month before 18th January 2021 when the hda.img file was uploaded.
If you build it, they will run
It didn’t take long to compile QEMU 5.2.0 on my ThinkPad Z13 running Ubuntu 24.04.1. It went something like this. I presumed that getting the build dependencies for whatever is the current QEMU version, in the Ubuntu repo today, will get me most of the requirements.
$ sudo apt-get build-dep qemu
$ mkdir qemu
$ cd qemu
$ wget https://download.qemu.org/qemu-5.2.0.tar.xz
$ tar xvf qemu-5.2.0.tar.xz
$ cd qemu-5.2.0
$ ./configure
$ make -j$(nproc)
That was pretty much it. The build ran for a while, and out popped binaries and the other stuff you need to emulate an old OS. I copied the bits required directly to where I already had put Jaap Joris’ hda.img and start script.
$ cd build
$ cp qemu-system-i386 efi-rtl8139.rom efi-e1000.rom efi-ne2k_pci.rom kvmvapic.bin vgabios-cirrus.bin vgabios-stdvga.bin vgabios-vmware.bin bios-256k.bin ~/VMs/windows-3.1/
I then tweaked the start script to launch the local home-compiled qemu-system-i386 binary, rather than the one in the path, supplied by the distro:
$ cat start
#!/bin/bash
./qemu-system-i386 -nic user,ipv6=off,model=ne2k_pci -drive format=raw,file=hda.img -vga cirrus -device sb16 -display gtk,zoom-to-fit=on
This worked a treat. You can probably make out in the screenshot below, that I’m using Internet Explorer 5 to visit the GitHub issue which kinda renders when proxied via FrogFind by Action Retro.
Share…
I briefly toyed with the idea of building a deb of this version of QEMU for a few modern Ubuntu releases, and throwing that in a Launchpad PPA then realised I’d need to make sure the name doesn’t collide with the packaged QEMU in Ubuntu.
I honestly couldn’t be bothered to go through the pain of effectively renaming (forking) QEMU to something like OLDQEMU so as not to damage existing installs. I’m sure someone could do it if they tried, but I suspect it’s quite a search and replace, or move the binaries somewhere under /opt. Too much effort for my brain.
I then started building a snap of qemu as oldqemu - which wouldn’t require any “real” forking or renaming. The snap could be called oldqemu but still contain qemu-system-i386 which wouldn’t clash with any existing binaries of the same name as they’d be self-contained inside the compressed snap, and would be launched as oldqemu.qemu-system-i386.
That would make for one package to maintain rather than one per release of Ubuntu. (Which is, as I am sure everyone is aware, one of the primary advantages of making snaps instead of debs in the first place.)
Anyway, I got stuck with another technical challenge in the time I allowed myself to make the oldqemu snap. I might re-visit it, especially as I could leverage the Launchpad Build farm to make multiple architecture builds for me to share.
…or not
In the meantime, the instructions are above, and also (roughly) in the comment I left on the issue, which has kindly been re-opened.
Now, about that Windows 3.11 Mastodon client…